0 Comments

I don’t know what it is, but I have a serious weakness for paper crafts! Today I’m sharing one of my favorite seasonal paper projects, just in time for Valentine’s Day.
These paper heart chains are quick and easy to make, and they add an instant touch of Valentine charm around the house. They’re simple enough to make with the kids as a fun Valentine’s activity, or you can make them yourself for a little therapeutic crafting time. (Sometimes it’s necessary, especially in the middle of winter!)

How Do You Make a Paper Heart Chain?
Quick answer: Cut cardstock into 1-inch strips, then staple 4 strips together at one end. Pull the two outside strips down to form a heart, add a new strip on each side, and staple everything together at the point. Repeat until the chain is as long as you want. All you need is cardstock, scissors, and a stapler.
How to Make Paper Heart Chains
Supplies
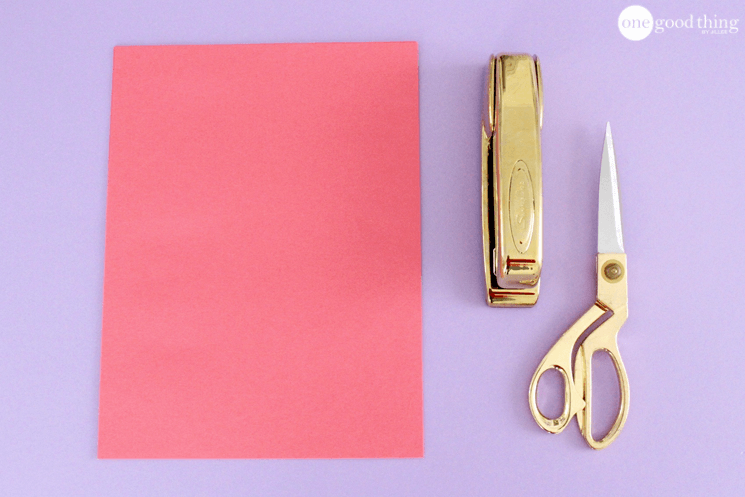
- Red, pink, or white cardstock
- Scissors (or a paper trimmer for straighter strips)
- Stapler
1. Cut the Paper in Half

Start by cutting a sheet of cardstock in half.
2. Cut the Halves Into Strips
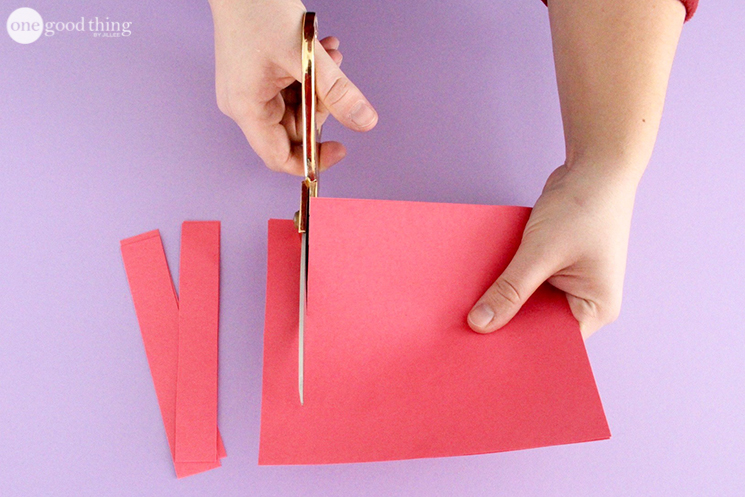
Cut both halves into strips about 1 inch wide. How many strips you need depends on how long you want your chain to be. Each new heart uses two more strips, so cut a good pile to start and make more as you go.
3. Staple 4 Strips Together
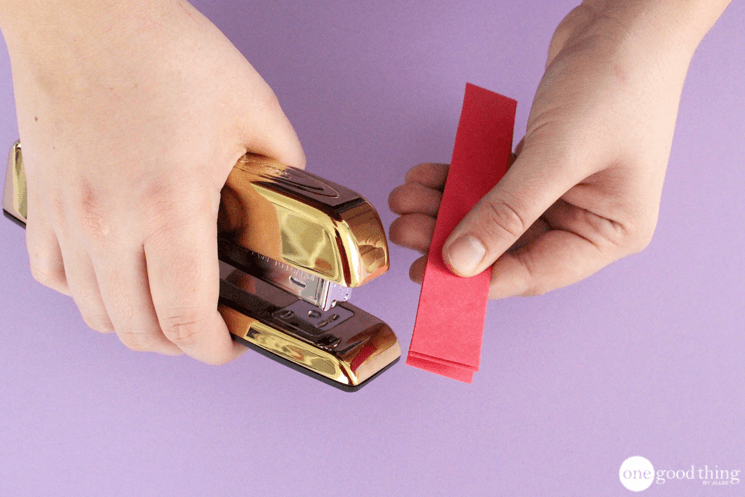
Stack 4 strips together and staple them at one end.
4. Form the First Heart

Pull the two outside strips downward and hold them together to make a heart shape. Place a new strip on each side, line up the edges, and staple everything together. It should look like there’s a V-shape framing the heart.
5. Keep Adding Hearts

Pull the outside strips down again to create the next heart, adding a new strip on each side before you staple. Keep going until your chain is as long as you want it. To finish, staple the last heart together without adding any new strips.
6. Hang It Up

Use the strips at the top of the first heart to hang your chain. Drape it over a doorway, along a wall, down a hallway, or anywhere else that could use a little Valentine’s cheer!
Tips for Making Paper Heart Chains
- Use cardstock, not printer paper. Cardstock is stiff enough to hold a nice rounded heart shape. Thin paper tends to flatten out.
- Keep your strips the same width. Even strips make the hearts line up neatly, and a paper trimmer makes this much easier than scissors.
- Mix your colors. Alternating red, pink, and white strips gives the chain a fun, festive look. Patterned scrapbook paper works too.
- Change the size. Wider, longer strips make big, bold hearts. Narrower, shorter strips make dainty hearts for a mantel or a tabletop.
- Make it a kids’ activity. Younger kids can cut the strips and pick the colors while an adult handles the stapler.
Ways to Use Your Heart Chain
- Hang it over a doorway or a window.
- Drape it along a mantel or a staircase railing.
- Run it down the center of the table as a Valentine’s Day table runner.
- Decorate a classroom or a kids’ Valentine’s party.
Put on some Valentine’s music, grab some cardstock, and enjoy a little crafting time!
Where would you hang your paper heart chain?